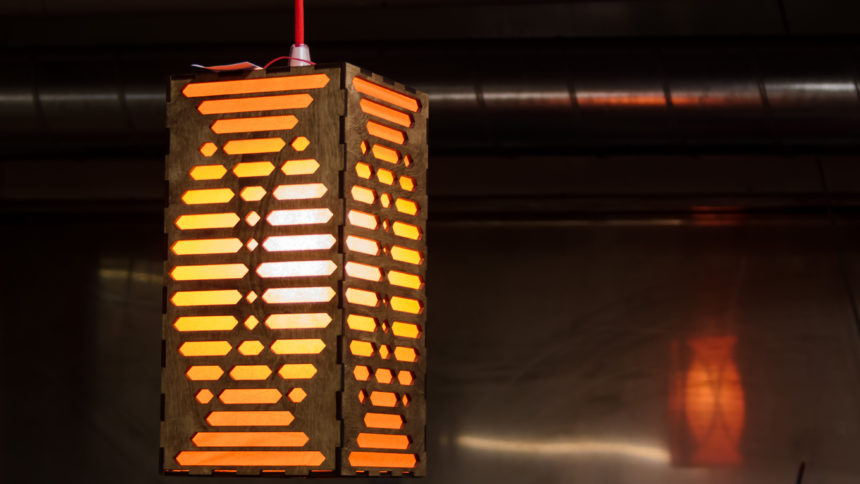
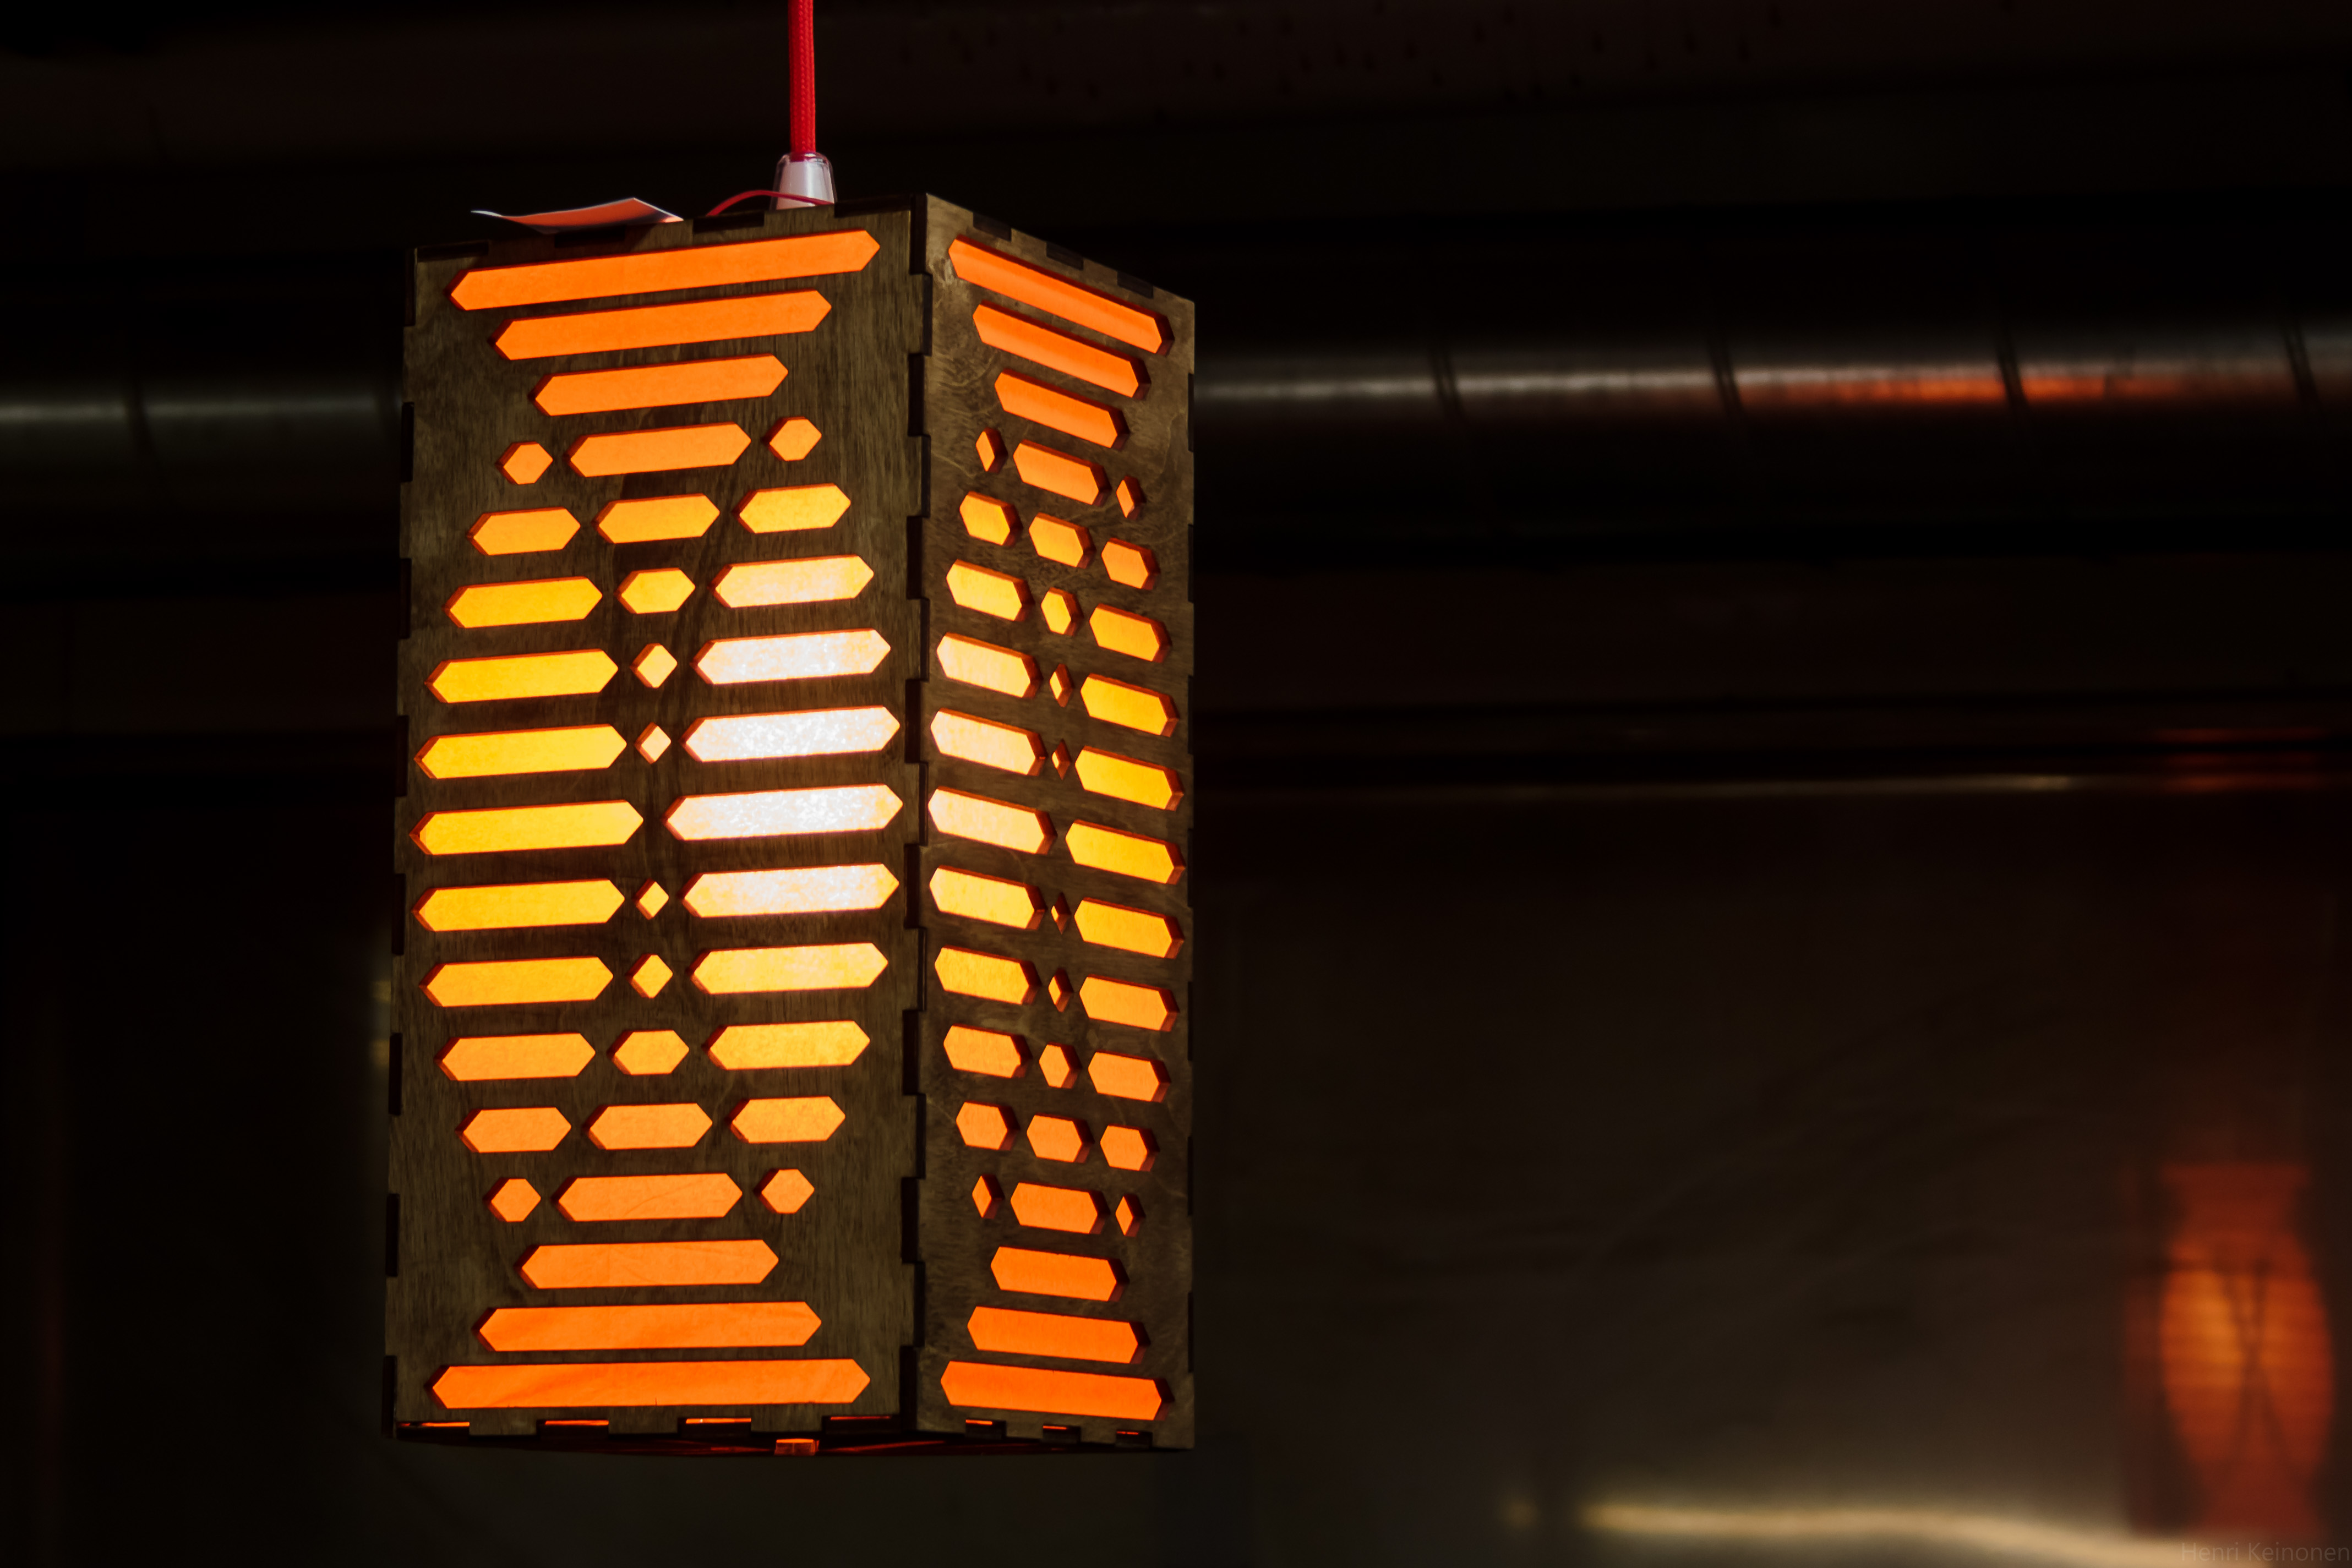
 Tampere Hacklab has ongoing design contest for lamps. I participated in with this Asian lantern styled lampshade.
My design points for lamp were to be able easily lasercut and construct it from plywood, and to incorporate some sci-fi themed elements. Steps for this project include CAD drawing, laser cutting and physical assembly. This design came out as easy to reproduce, inexpensive, and aesthetically pleasing.
I started project with a empty plate. I had vague image in my head, what kind of lamp I would make, but most of the design was formed during drawing phase. Easiest 3D shape to construct from sheet material is a box, and previously I have used finger joints to construct ones from laser cuttable sheet material. Making finger joints by hand is time consuming and error prone so I used ready made generator script by txoof for OpenSCAD program.

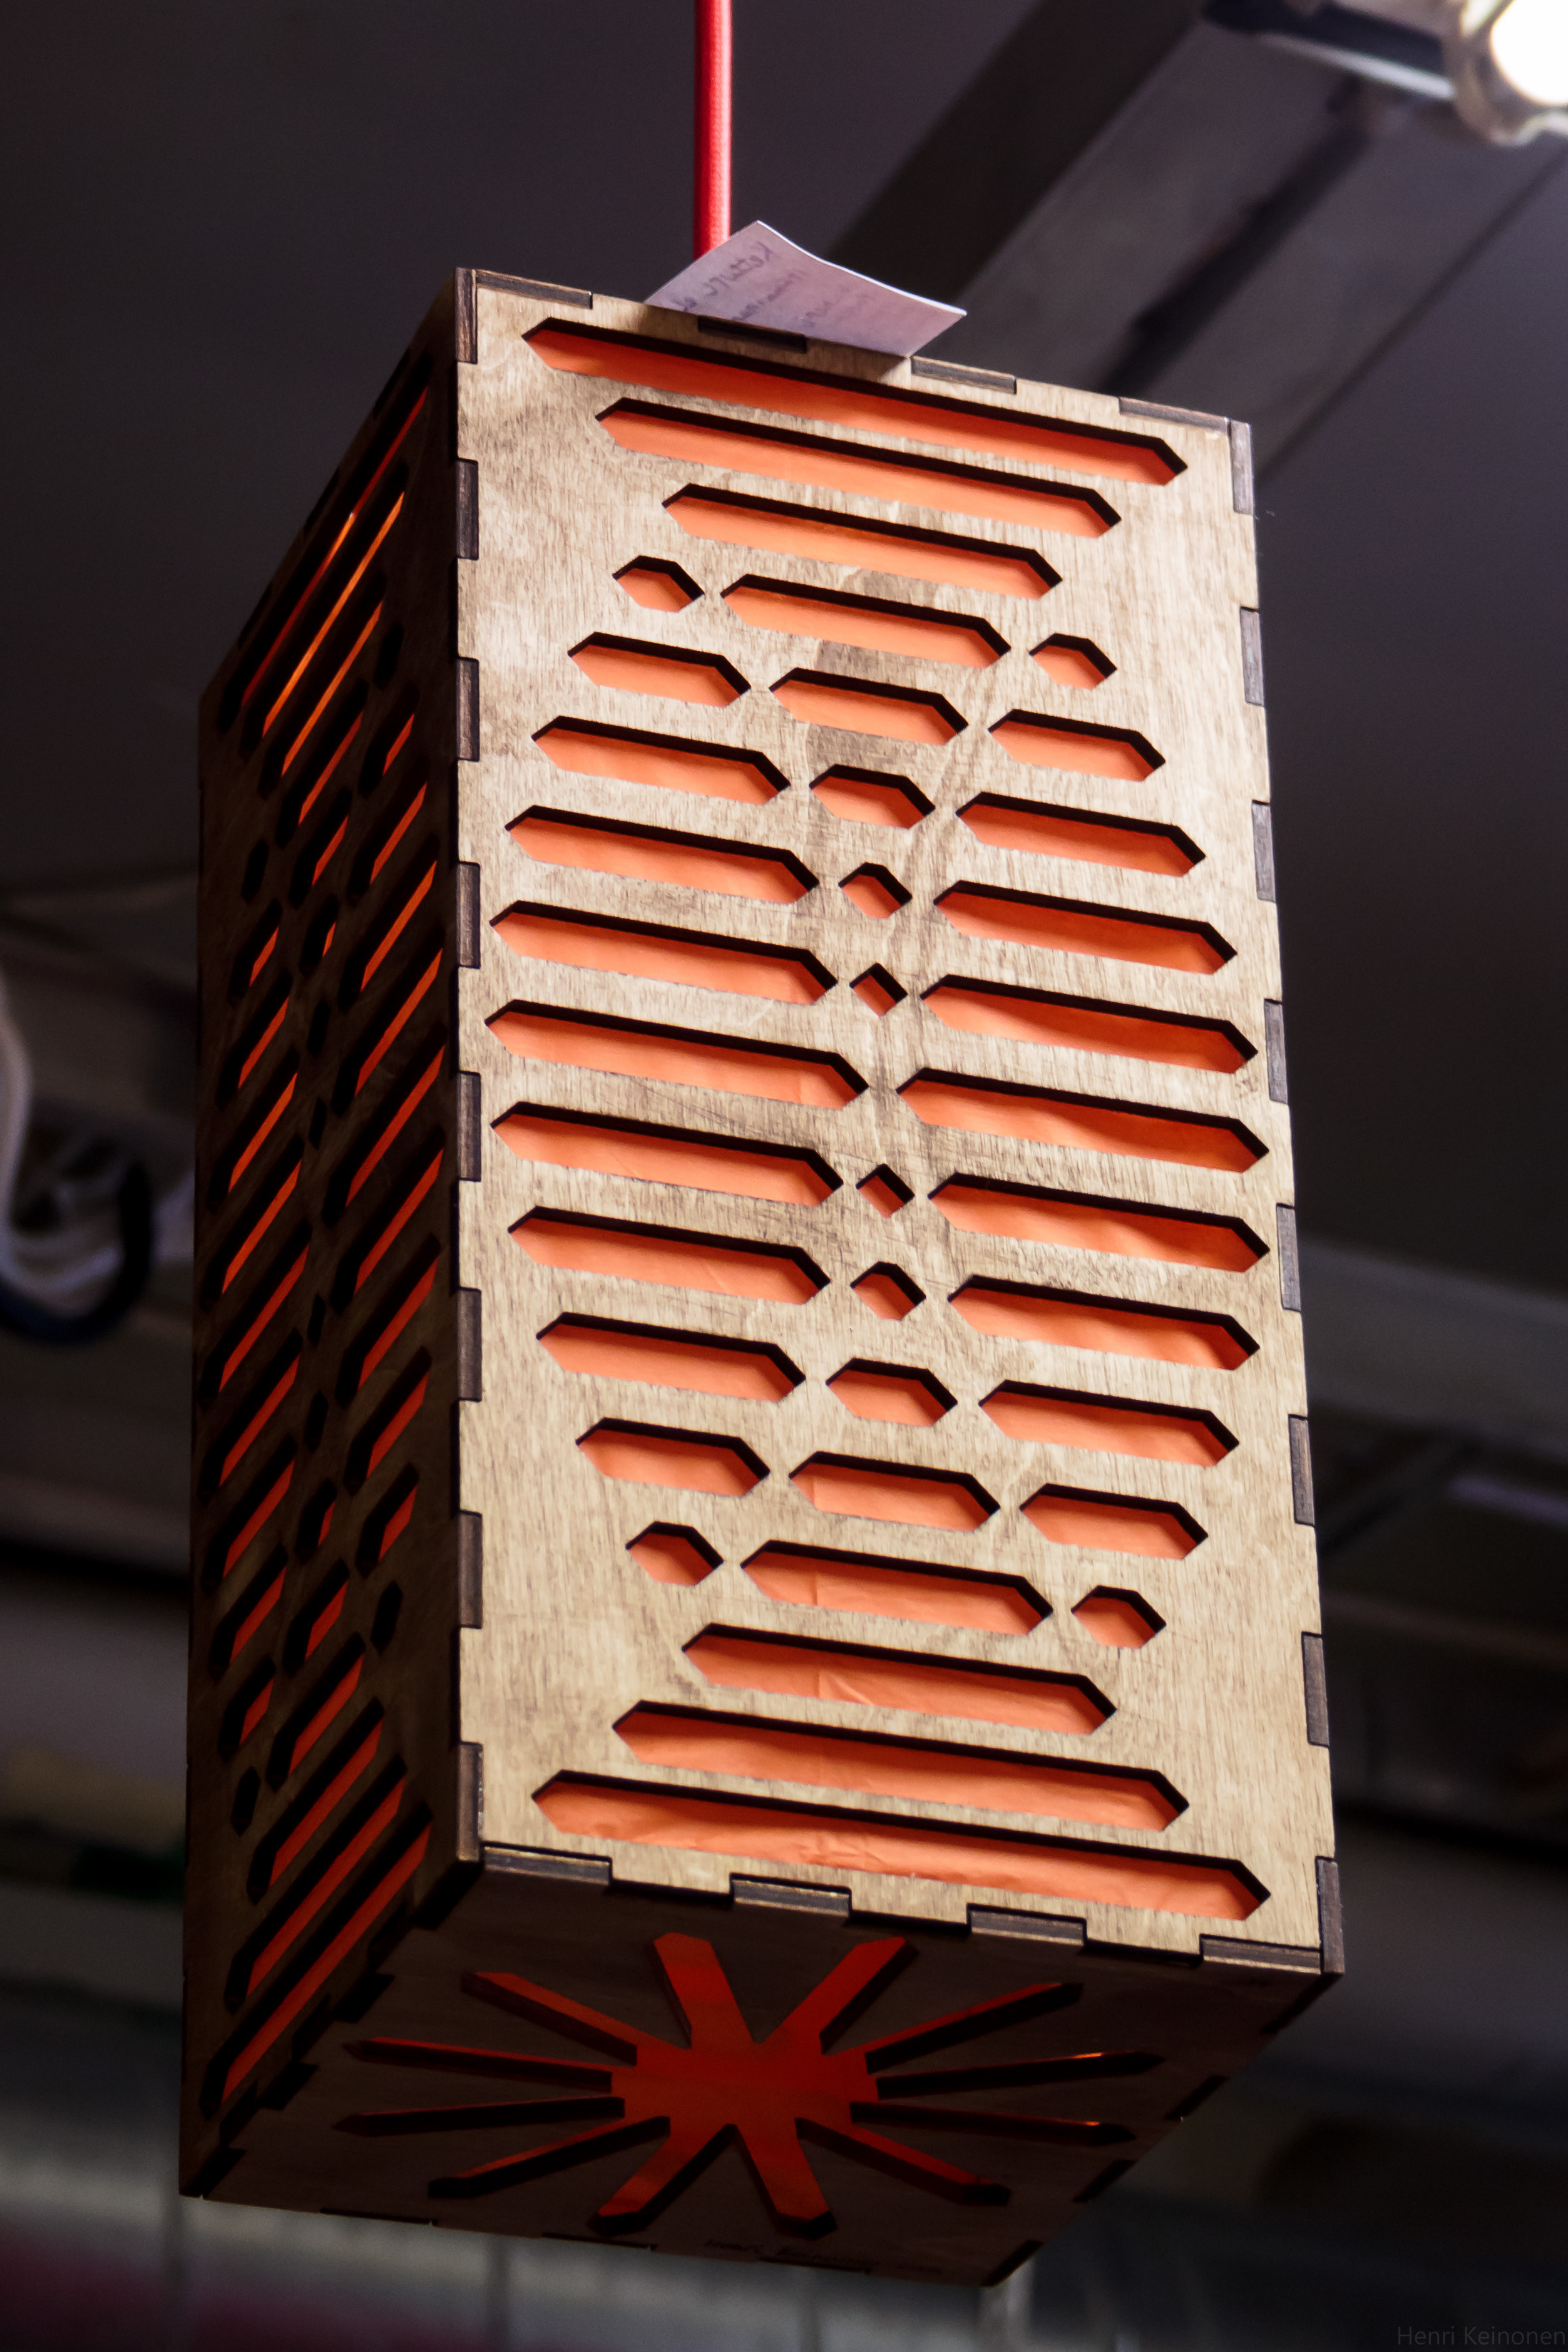
OpenSCAD gave me a dxf file with box layout in 2D that was a good base to start modeling. Solid box does not make that good lamp, as lamp needs to give some light out after all. After fooling around with some of the vector tools (mainly in inkscape and DraftSight) form of lampshade started to appear. With rounded shapes I got more traditional look, but hexagonal shapes gave the futuristic look I was after. I ended up making couple of curved guidelines and copying triangles along them. Then it was just manual labor of connecting those triangles together and removing unneeded lines. After hour or so I had design on my screen that pleased me enough.
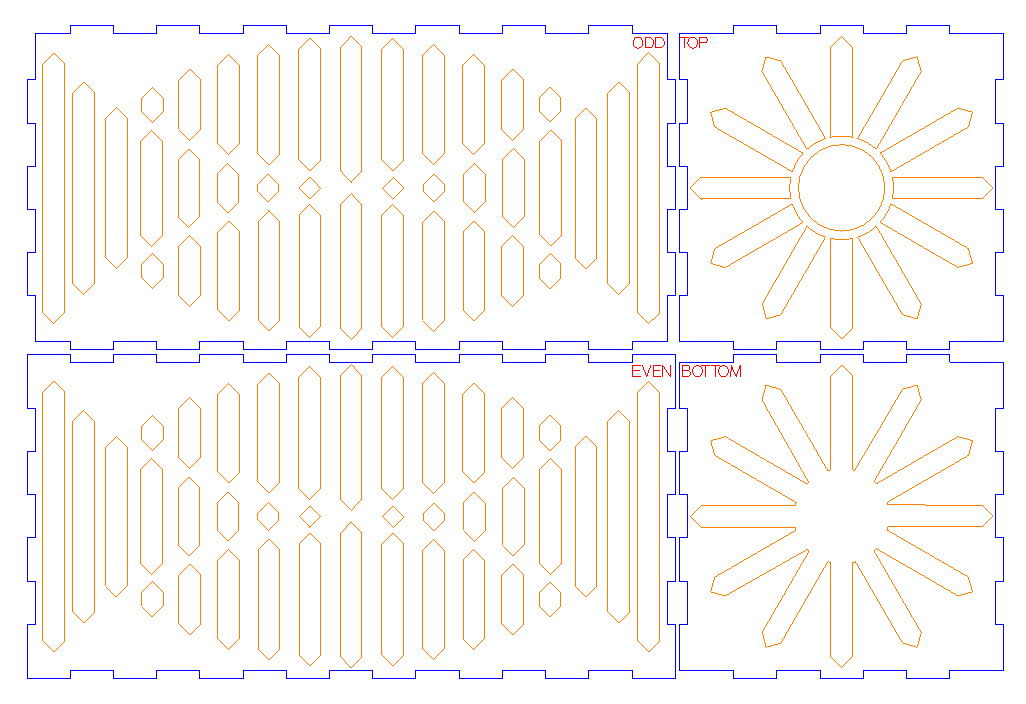
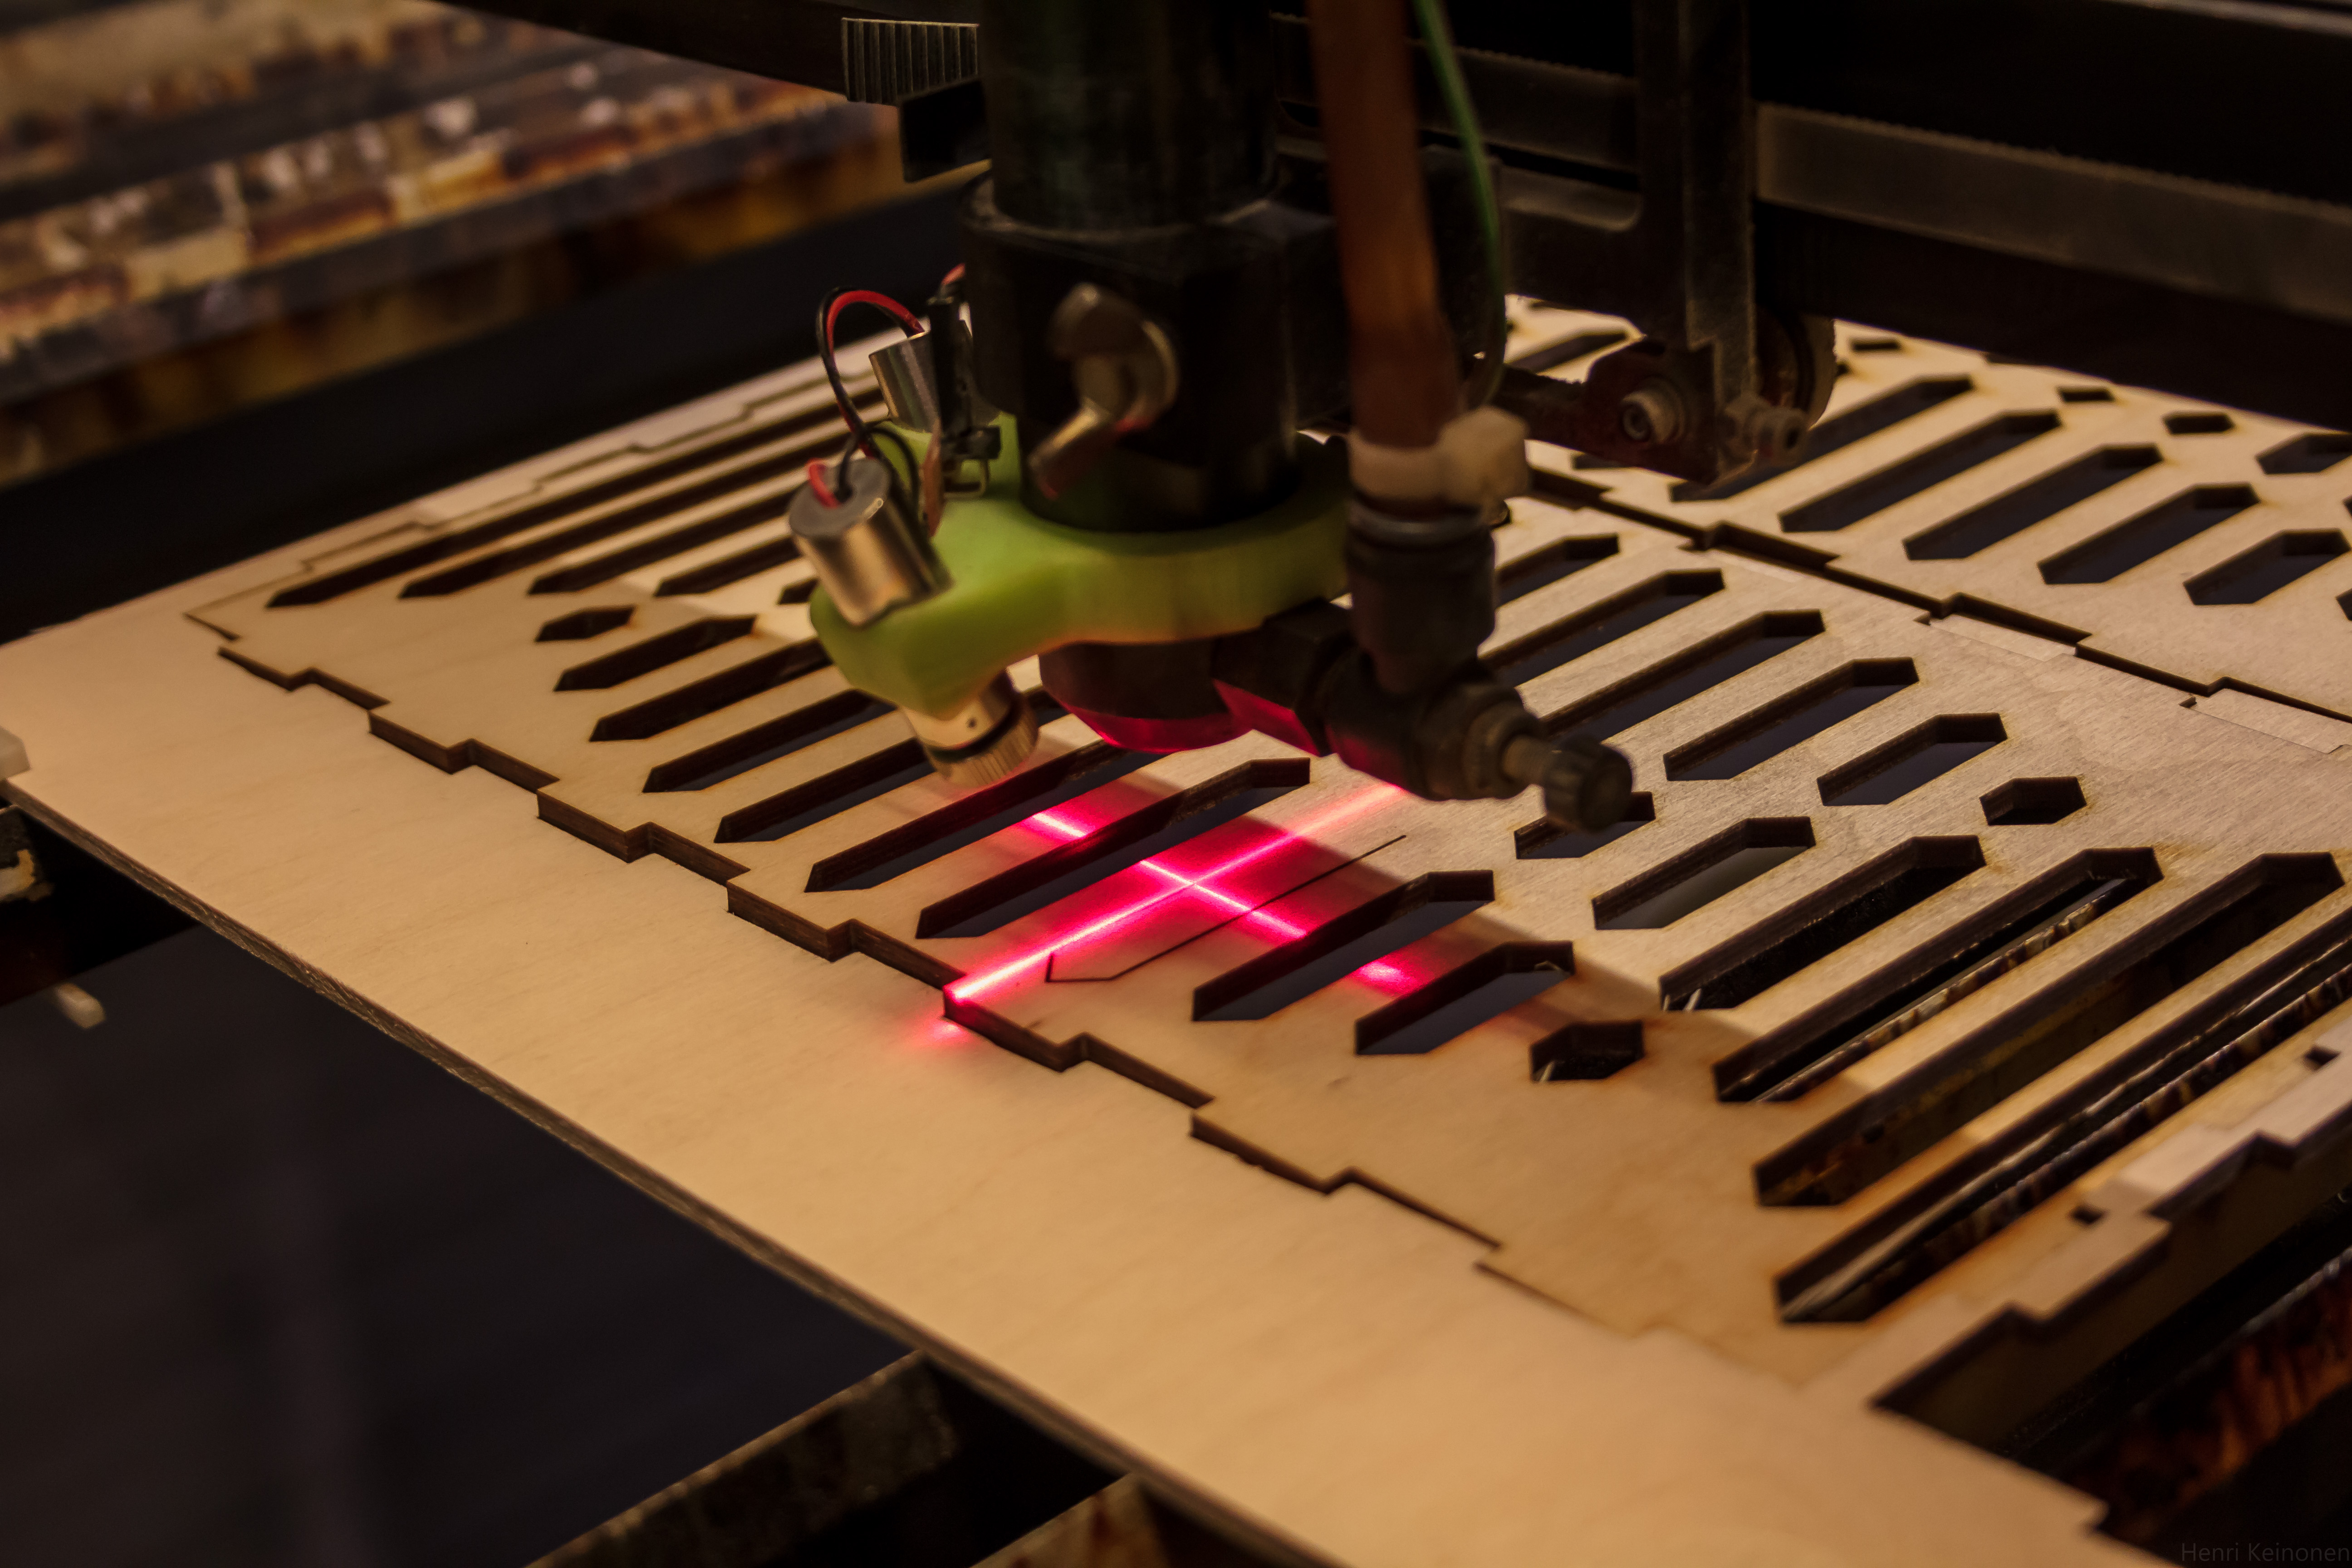
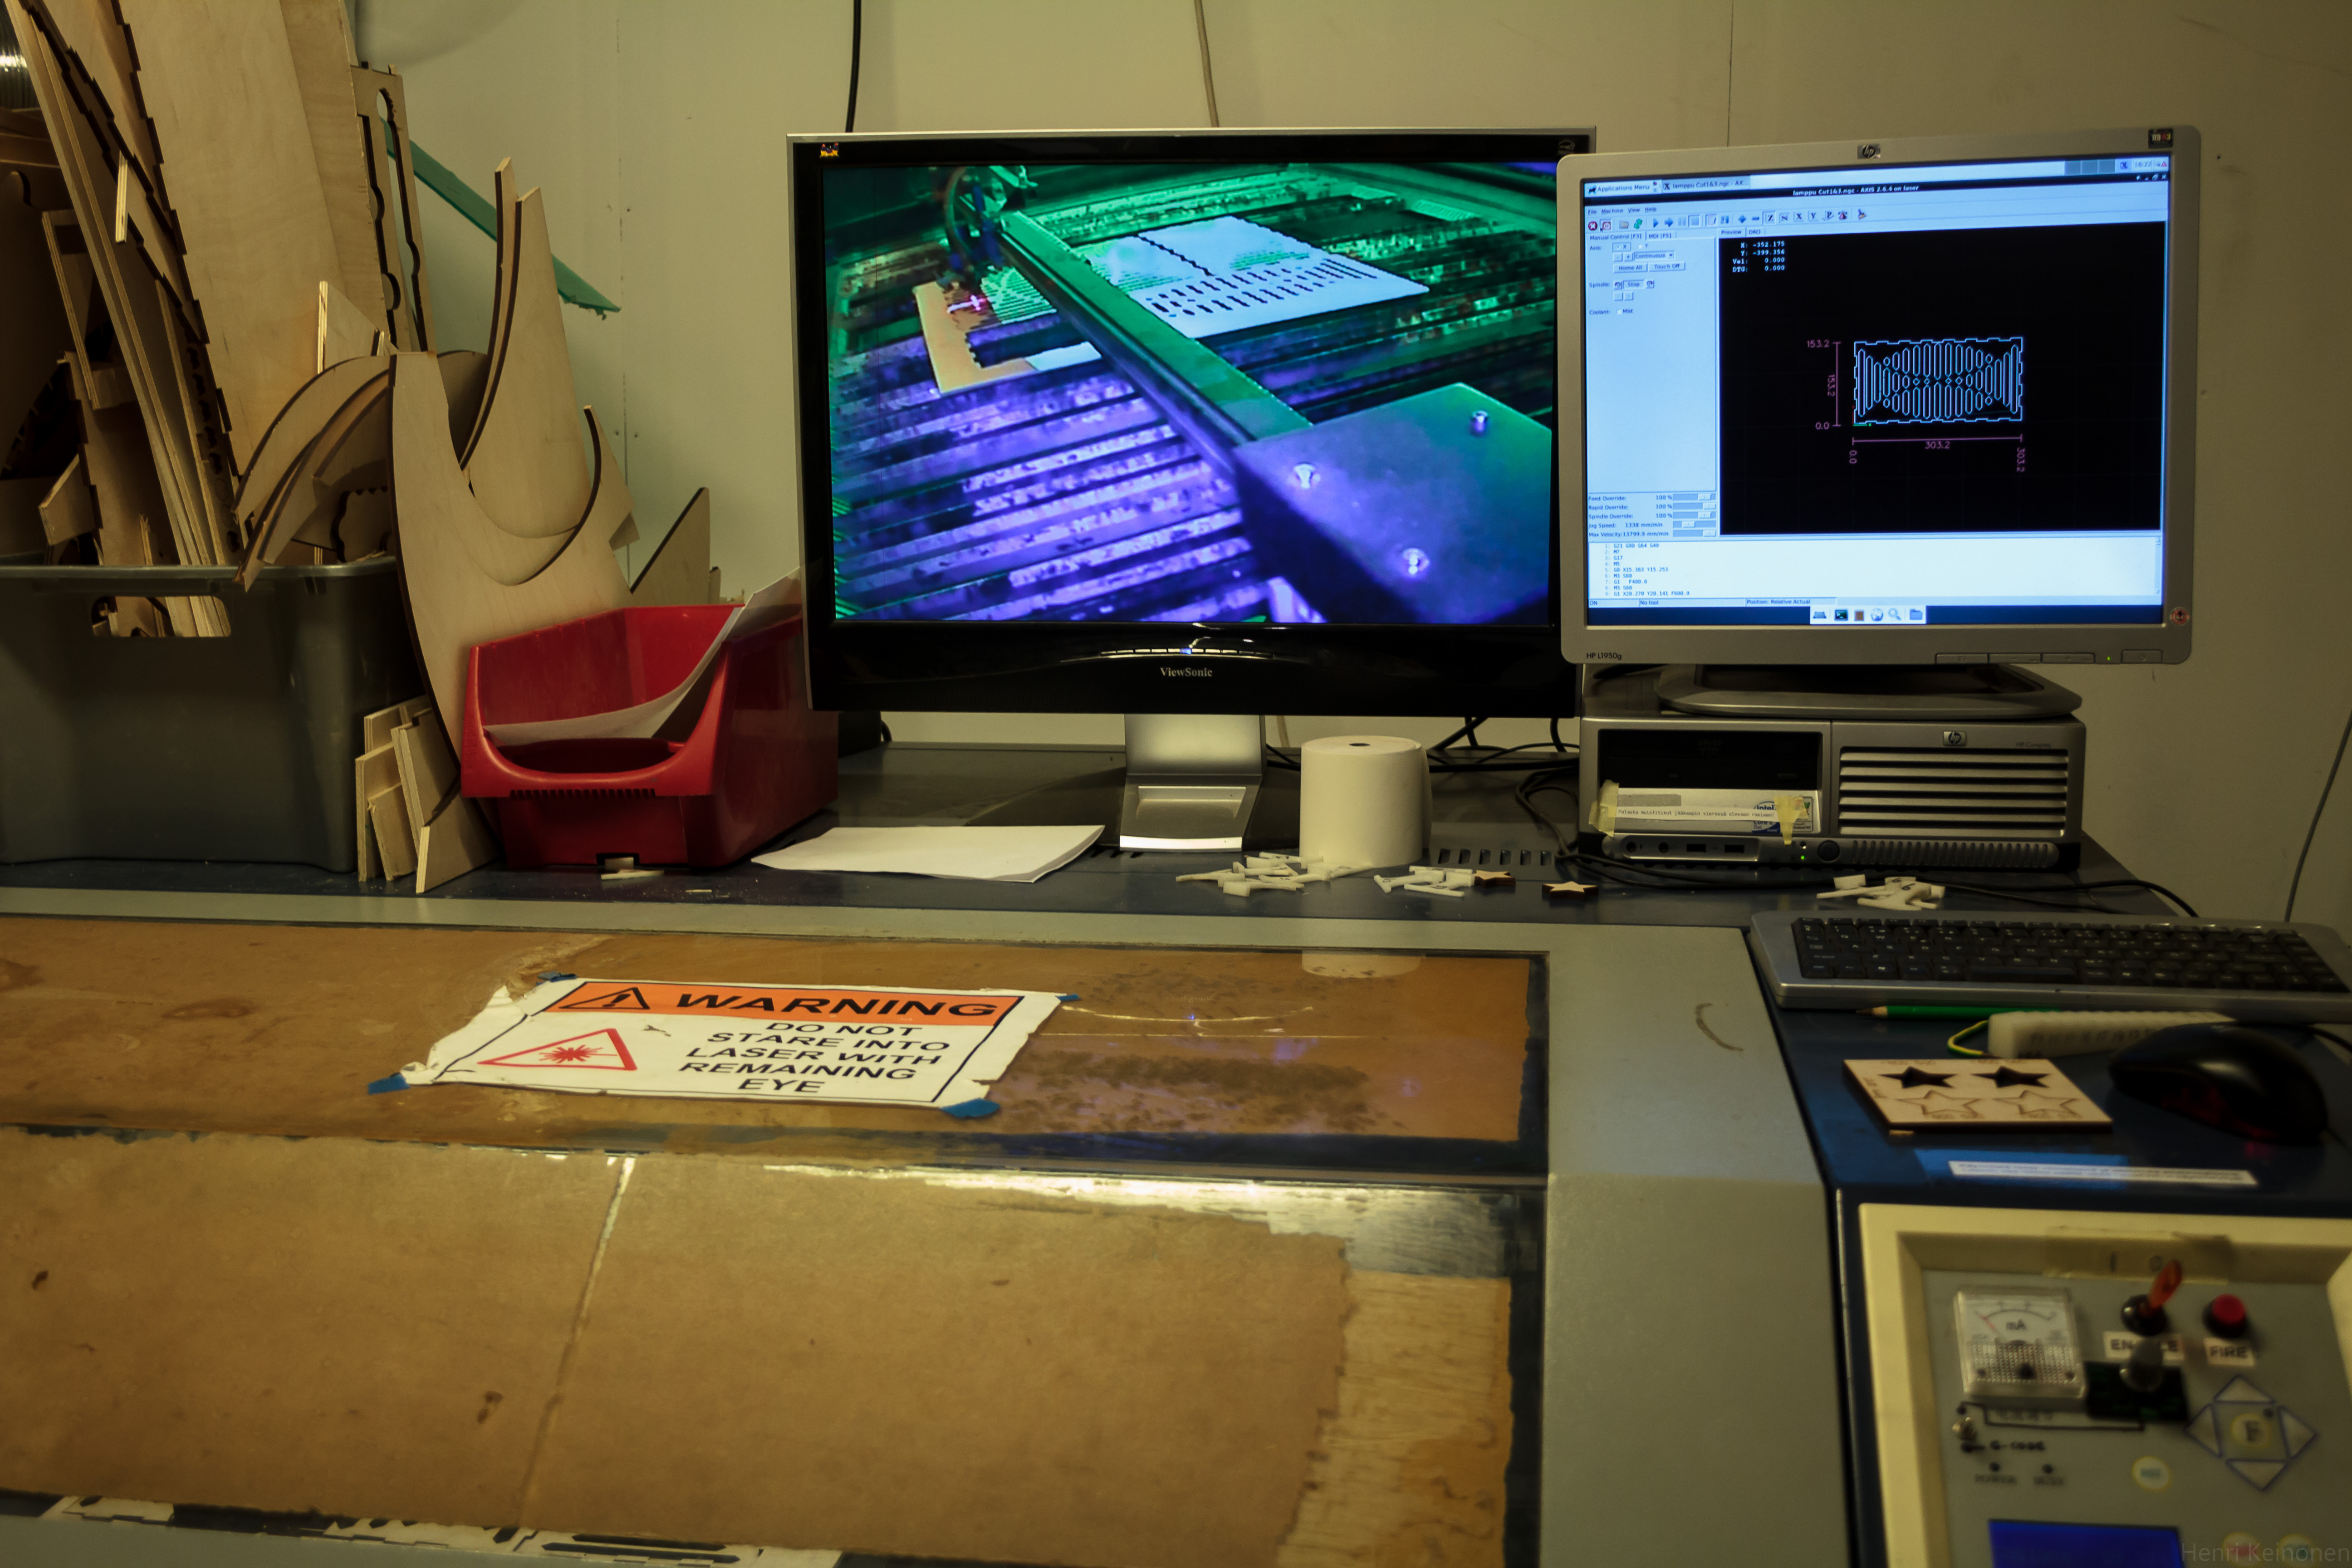
It was almost ready to be cut out with the Tampere Hacklabs laser cutter, a wonderful tool for all making and hacking needs. I had to separate the different parts for different layers, so internal patterns would be cut before outlines, and adjust outline scaling because laser vaporizes about 0.1mm of material away from the cut. Actually I forgot to do these steps at first, so sides were too loose to fit together and some of the inside patterns were not cutout before outlines so whole piece just fell out before finishing pattern. Ouch. Luckily material was inexpensive and I did not have to pay laser time.
After double checking everything I managed to make working cuts. Plywood is good laser cutting material and gives nice finishing with minimal hand work.  I was so exited of making this lamp that I actually forgot to took pictures during assembly.
I buffed out the parts with fine sanding paper and applied oak colored staining with rag. I didn’t varnish or oil the surface as I though finishing was already good and glossy coat would have been too much.
During test assembly I found out that without light diffuser inside lampshade looked too plain and incoherent. Also it needed some more color. I visited local arts and crafts shop and bought some orange tissue paper (one that is meant for hobbies, not for blowing nose). Gluing thin paper is hard as it wants to adhere instantly to surface and wrinkles to all directions possible.
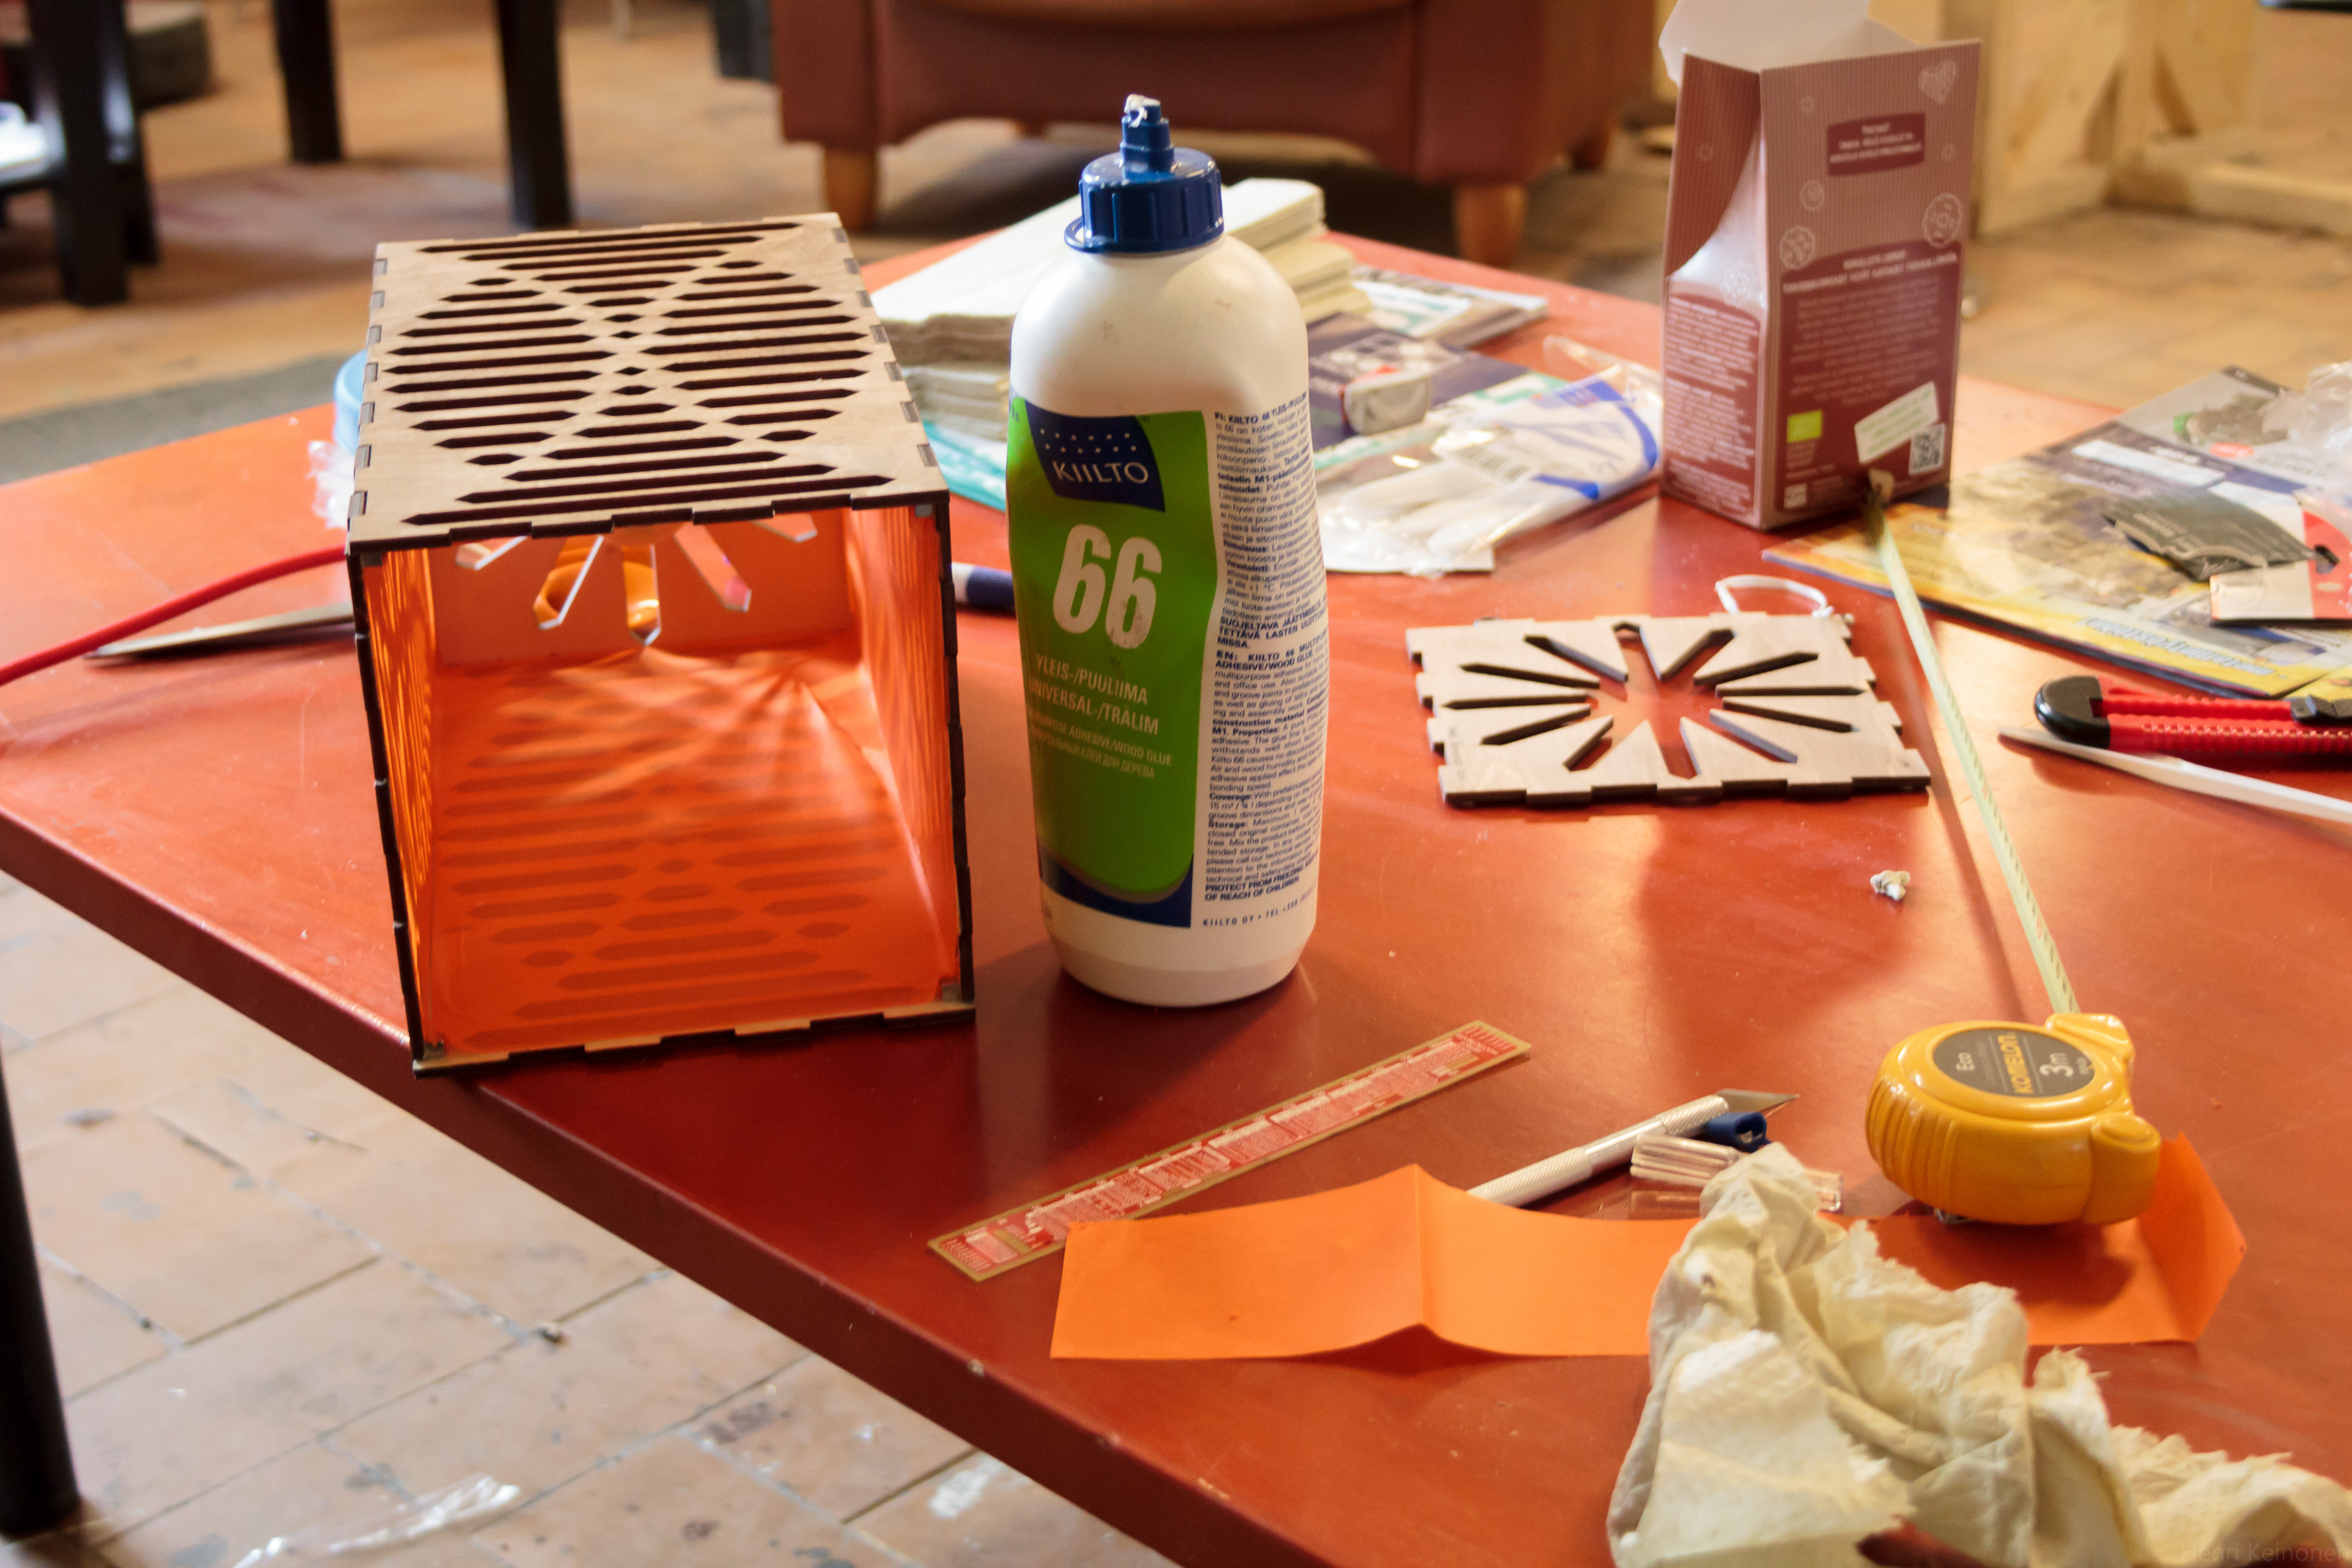
With some difficulties I managed to glue everything together. It would have been much smarter to glue paper down before assembling sides together. Next time I’ll use thin spray glue and apply paper to parts laying flat. I left bottom plate intentionally lose and unglued for changing the light bulb. To ensure it staying in place I glued small neodymium magnets to bottom plate and corners of box. Plate snaps tightly to box, but is still removable. At this point lamp was nearly complete. I just added red braided cable and light socket bought from IKEA and 11W compact fluorescent bulb (I had no long enough led bulbs in my hand).
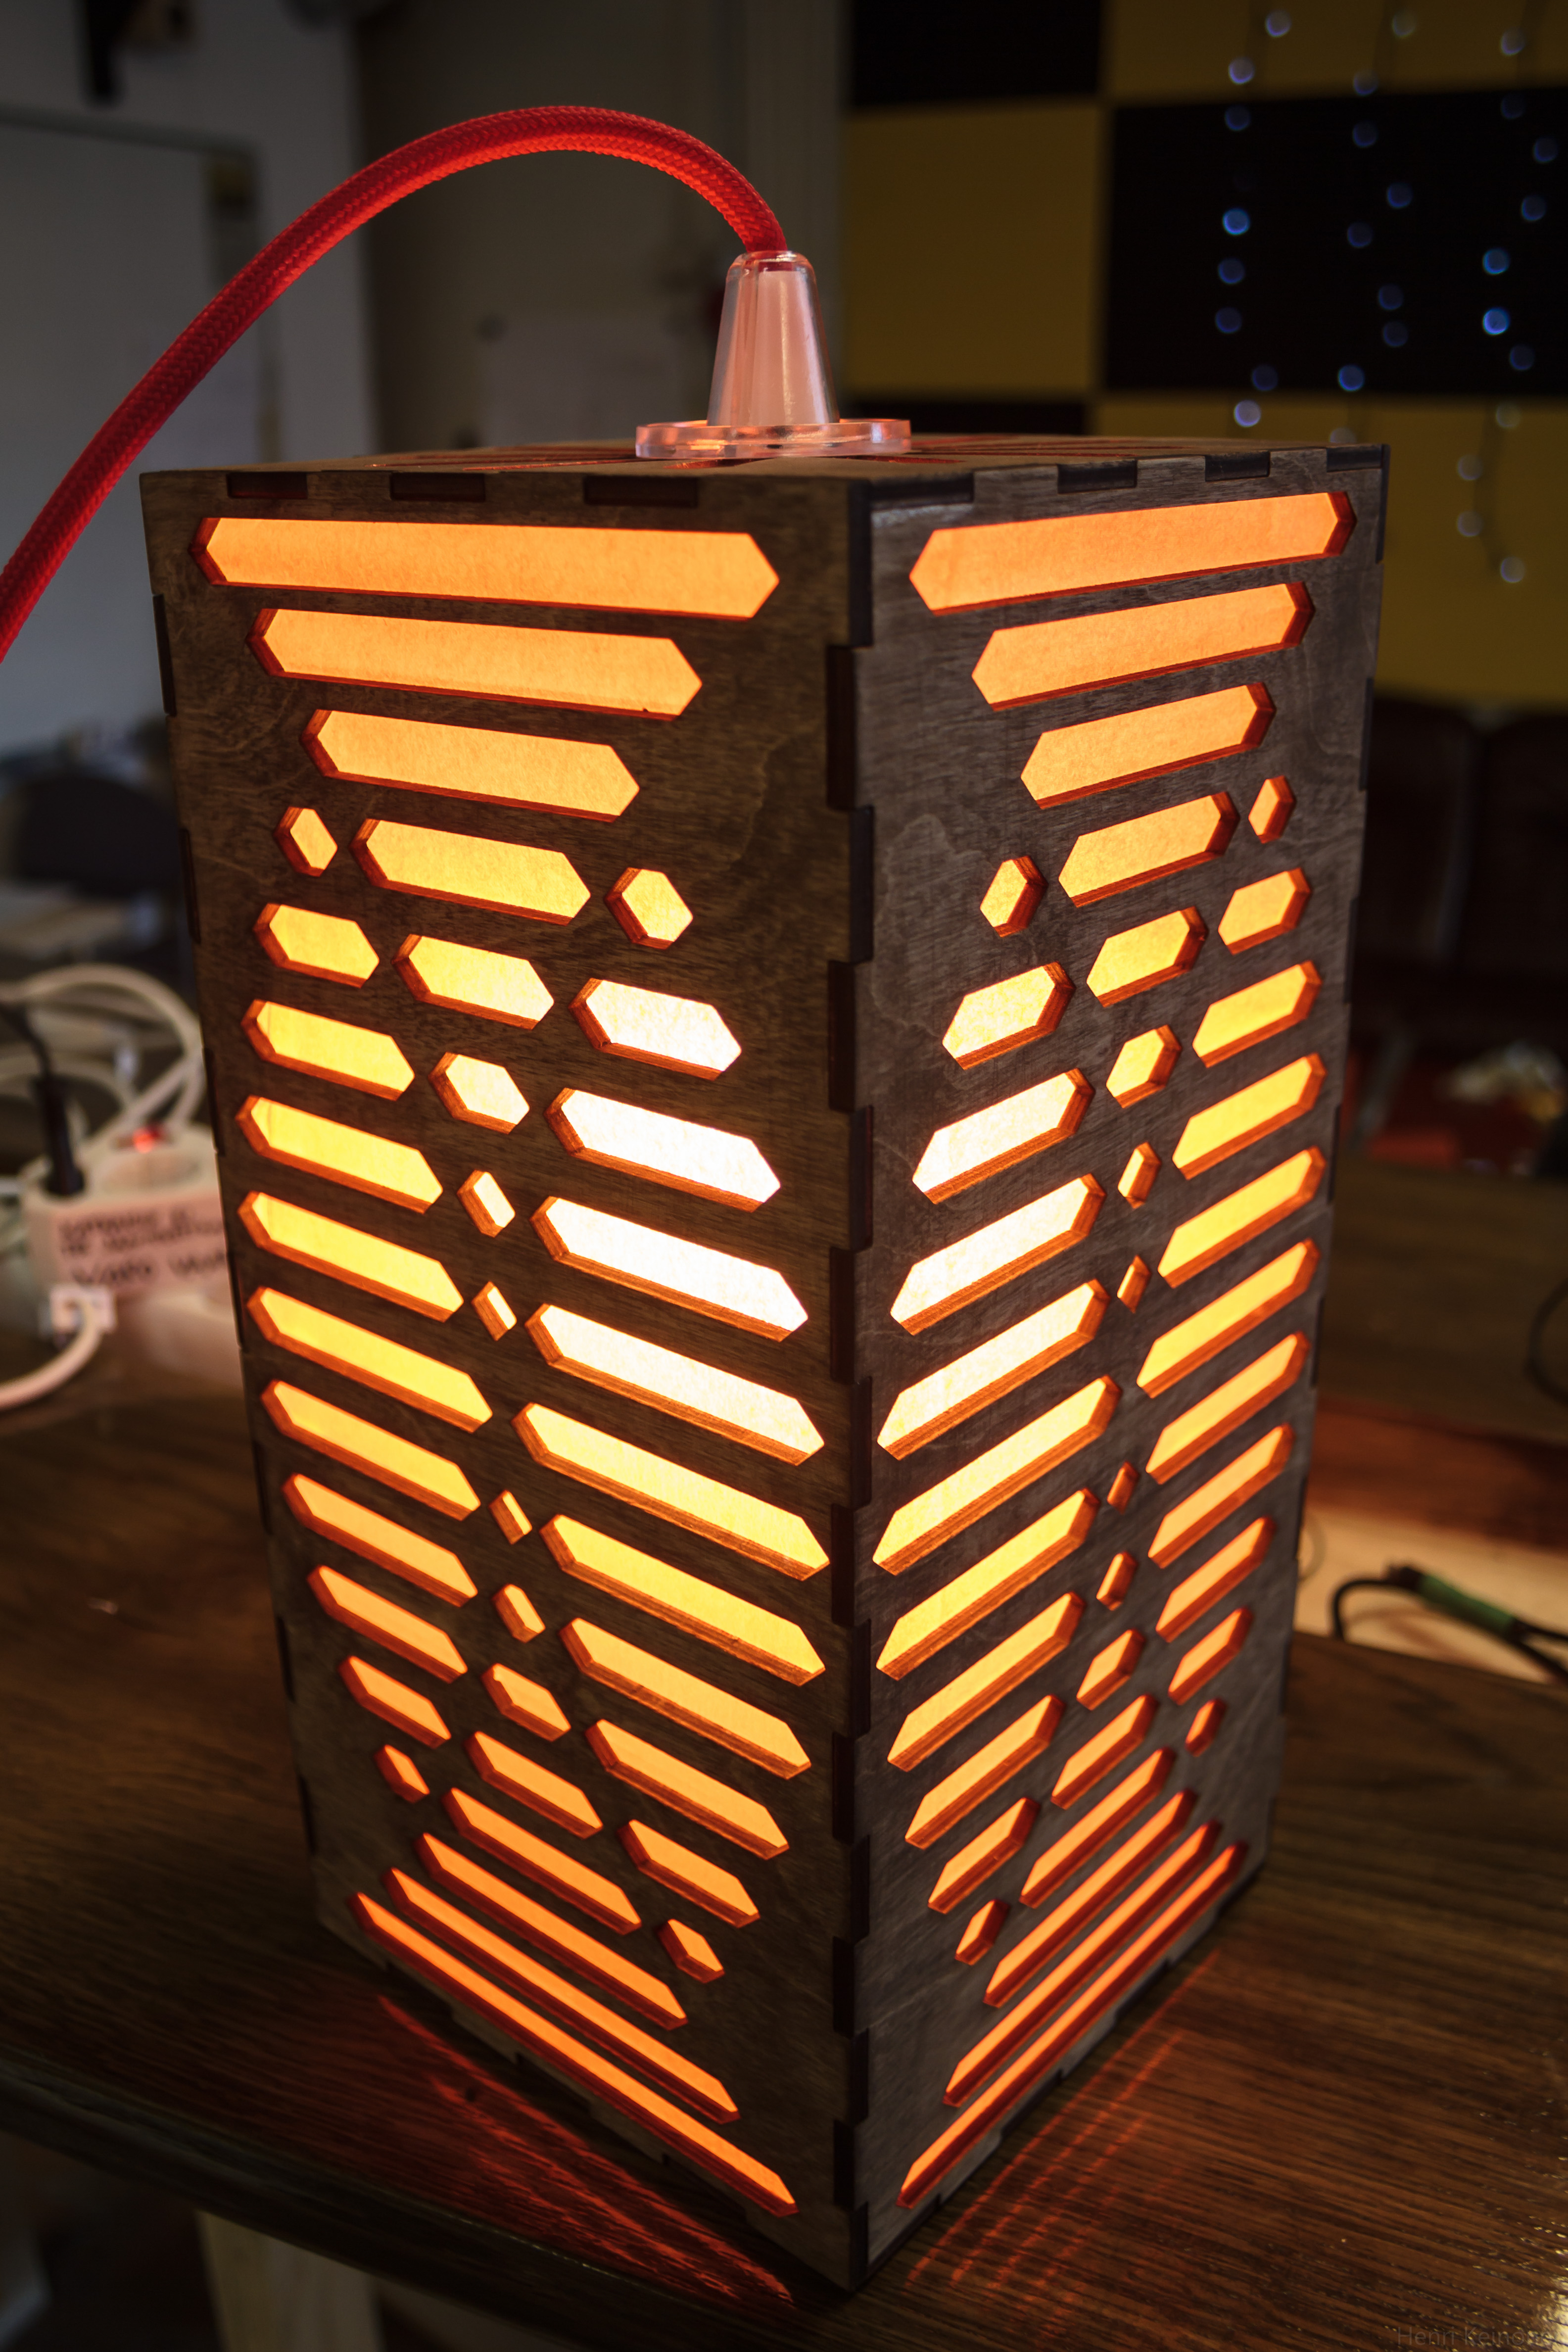
Project came out fine. Work process could be more straightforward and with no troubles, but for first version it was successful by all odds. Bill Of Material is following: 6€ plywood, 5€ SEKOND cord set from IKEA, 2€ tissue paper sheet, and 3000€ for laser cutter or 20€ for small monthly fee of local hackerspace ;).
You can download the dxf file for laser cutting, and make your own version of this lamp. I publish this as open source, but if you do use my design I would want to see link to this post in it. Also if you do your own version of it please show it in comments, it is always nice to see other inspired projects coming up.
Also if you are member of Tampere Hacklab, be sure to vote the lamp you like the most between 26.4 – 3.5. Also you have still time to participate in contest as deadline for lamp competition is also 26.4. But please do your own design in that case, my design and lamp is already entry in it :)
Just what I have been dreaming of! True lantern style. Variable colours. Beautiful! Led would be safer, maybe…