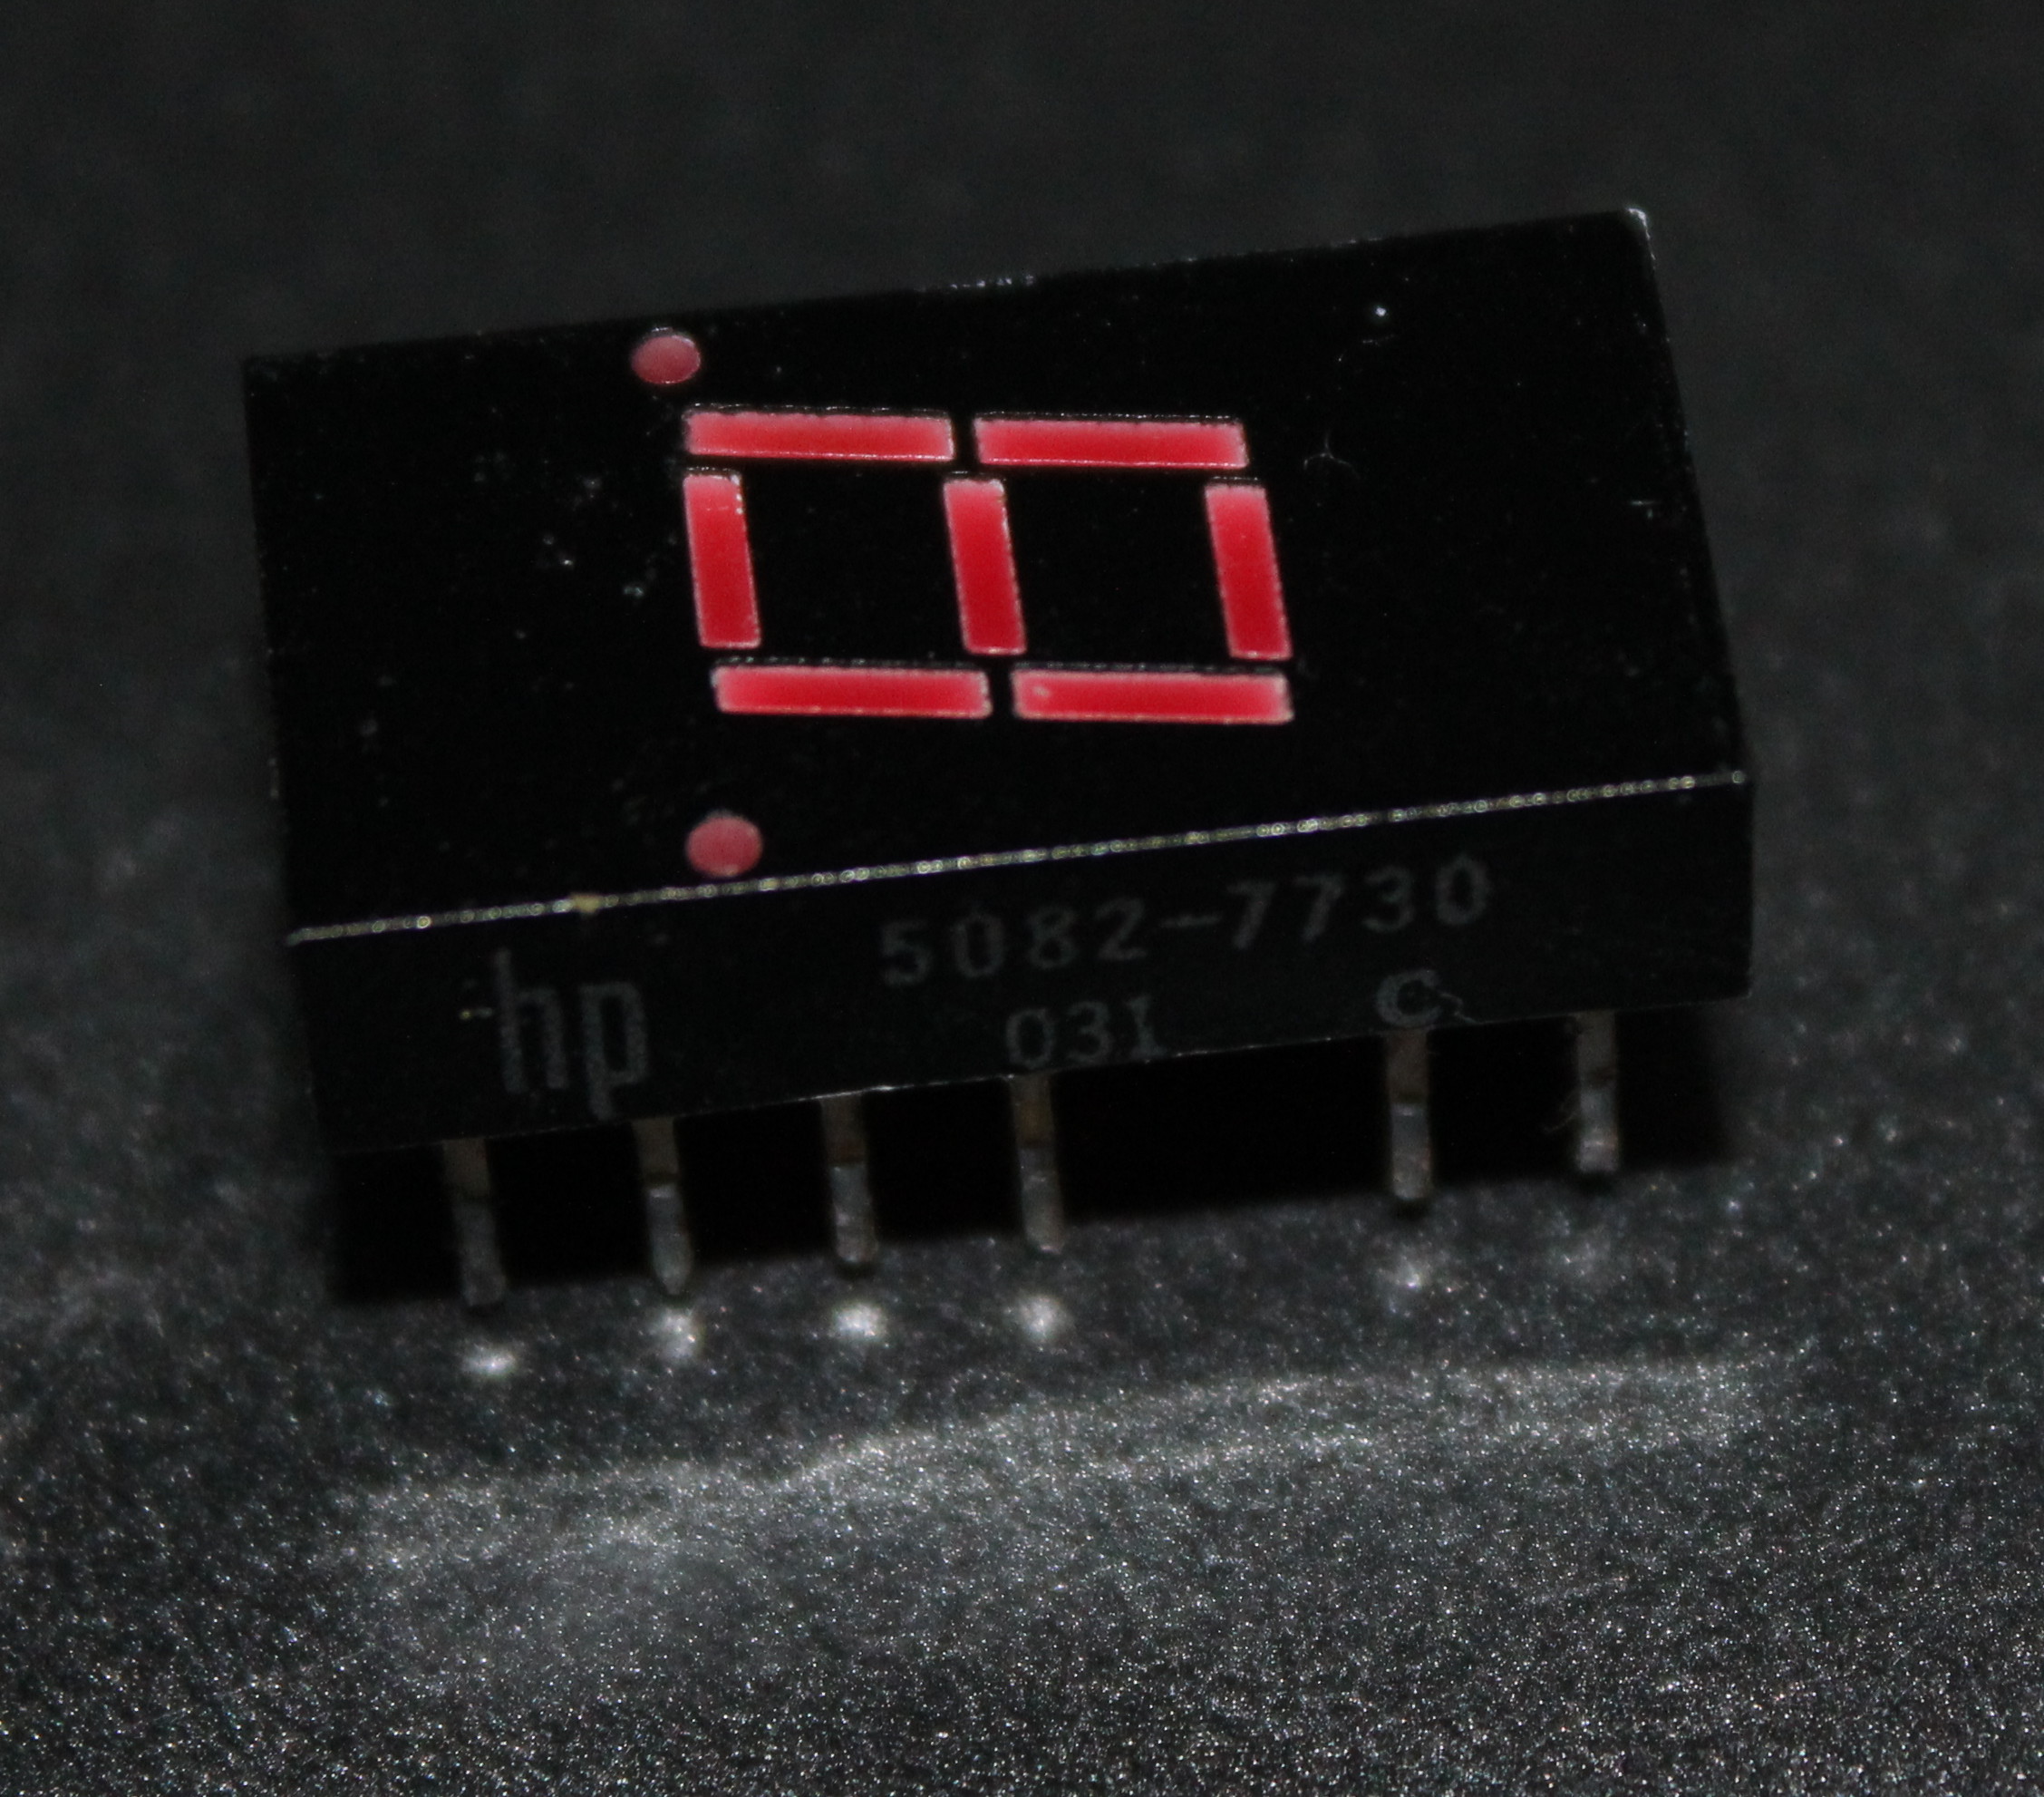
I found some old HP/Agilent LED displays. They are common anode type, and have DIP 14 packages. I haven’t seen these before in real life, and I think these are beautiful little displays.
Of course I had to do something with these, so I dig out my breadboard & Arduino nano and push those displays down to board. Because these displays have atypical layout, they’re on top of each other rather than traditionally side-by-side. I striped some jumpers from wire, which was hardest and most annoying part.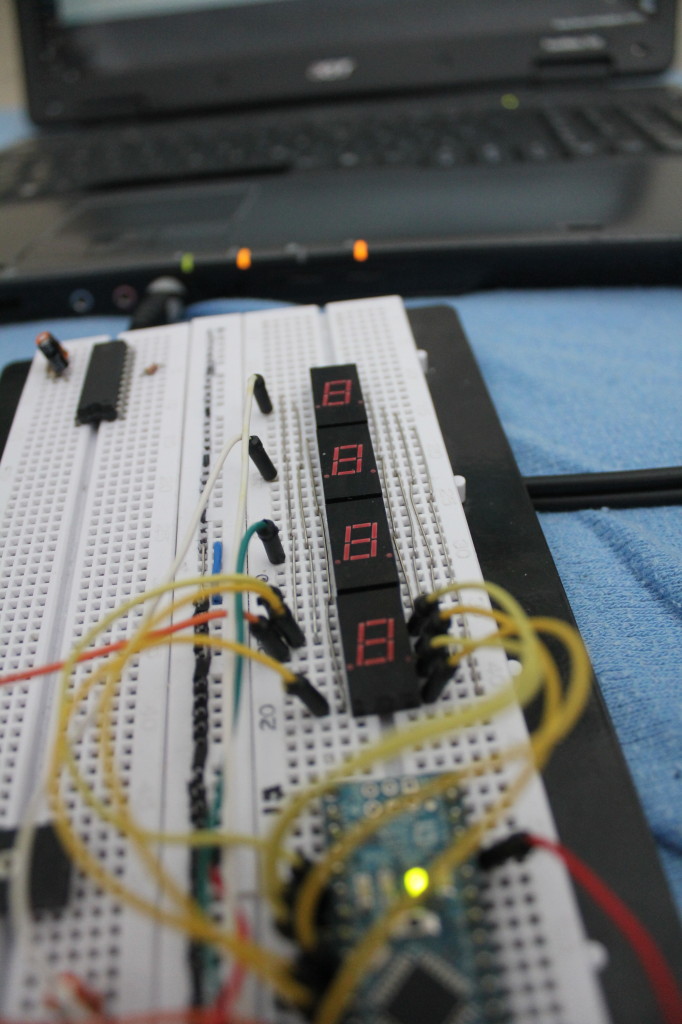
After some time and bunch of jumpers the wiring was ready. For multiplexing with arduino I used library called SevSeg, which is very easy to use even tough it may be too slow if there is much else code. I edited the example code so that it counts downwards. Just change line increasing variable to decreasing, and when variable is 0 reset it back to max value. Very simple. Code is otherwise in original state.
#include "SevSeg.h"

//Create an instance of the object.
SevSeg sevseg;

//Create global variables
unsigned long timer;
int CentSec=10000;

void setup() {
  //I am using a common anode display, with the digit pins connected
  //from 2-5 and the segment pins connected from 6-13
  sevseg.Begin(1,12,11,10,9,2,3,4,5,6,7,8,13);
  timer=millis();
}

void loop() {
  //Produce an output on the display
  sevseg.PrintOutput();

  //Check if 10ms has elapsed
  unsigned long mils=millis();
  if (mils-timer>=10) {
    timer=mils;
    CentSec--;
    if (CentSec==0) { // Reset to 1000 after counting for 100 seconds.
      CentSec=10000;
    }
    //Update the number to be displayed, with a decimal
    //place in the correct position.
    sevseg.NewNum(CentSec,(byte) 2);
  }
}